
Track User Clicks when Email Phishing
When performing email phishing engagements my clients often ask or want to know what users actually clicked on the phishing email. There are many ways to accomplish this task, but I’m going to discuss the method I use to track each unique visitor to my phishing website.
I prefaced this article in one of my previous blog posts “How do I phish” where I discuss using a ruby script I call sendmail.rb. There is nothing special or magical about the script, it just offers an alternative way to send phishing emails that will assist in tracking each unique visit to your phishing website. There is also value in knowing the CIO or some other C-level executive was just phished.
Normally, if you send your phishing campaign with an email client like Thunderbird, Outlook or something else, all you know is the number of clicks to the website, but you can’t trace it back to the user or how many unique visitors. You’ll typically get results that are vague stating something like: “we sent the email to 50 visitors, and we got 35 clicks”. The question I always want to know is; of those 35 clicks, how many unique users visited the phishing website? Was it only 2 different users that clicked on the website 15+ times each? This is the problem sendmail.rb helps to solve.
The concept is really quite simple. We are going to append the email address to the phishing url. Appending an email address in cleartext is pretty obvious, so twe are going to base64 encode the email address before we append it to the phishing url.
For example, if our phishing url is located at:
http://example.com/index.php
Sendmail will modify the phishing url to something like:
http://example.com/index.php?id=bWNjYW5uLmJyYW5kb25AZ21haWwuY29t
Once the user clicks on the phishing url with the base64 encoded email address appended to it, this HTTP GET request will show up in the web server logs. In my case I run Apache, so I will give an example of how to parse the logs using this method.
I wrote another ruby script which I call decode_logs.rb to help assist with getting the information out of the Apache logs quickly and efficiently. Here is an example of how I used the script to parse the logs.

Initially when I started sending emails from sendmail.rb I was editing the raw HTML to craft up my phishing campaign. This was very time consuming, and I’m not a very good web designer so my phishing emails never came out the way I hoped.
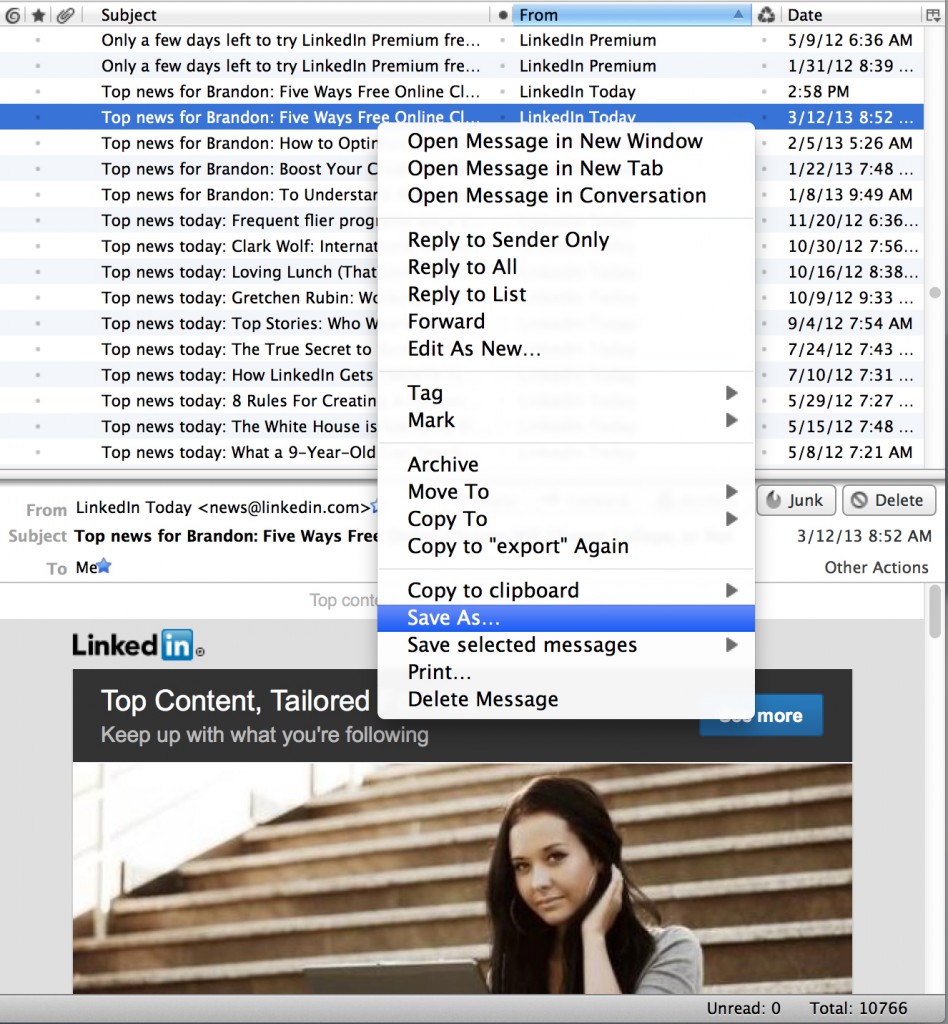
Huge shout out and thanks to my colleague hostess, he recommended I look into using Thunderbird to craft my emails and simply ‘Save As’ the email message. The email will save as an EML format, but it’s essentially all raw HTML which will work perfectly with sendmail.rb.
Let’s quickly walk through creating a new phishing email to send. I quickly looked through my inbox and noticed a lot of junk from LinkedIn, so let’s create a simple phishing email using this as a template:
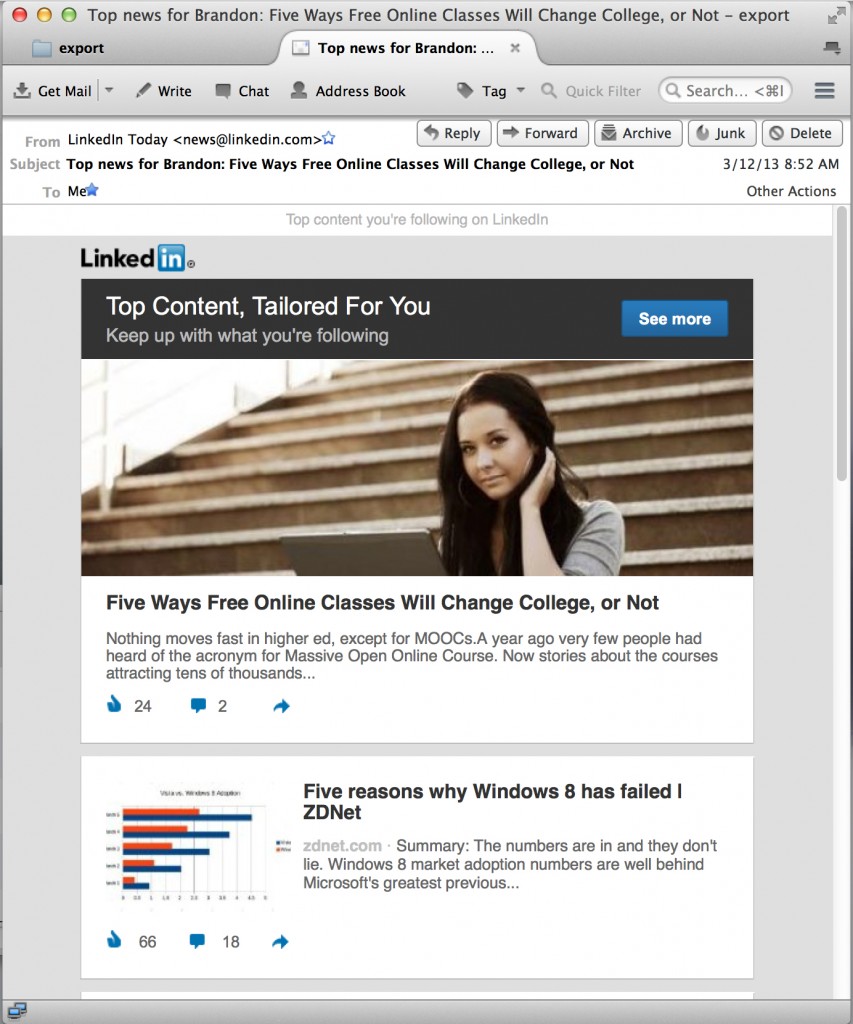
Once we’ve crafted a phishing email and it looks good with Thunderbird, all we need to do is save the file locally so we can use all of the HTML formatting for our script. No secret here on how to save the file locally:
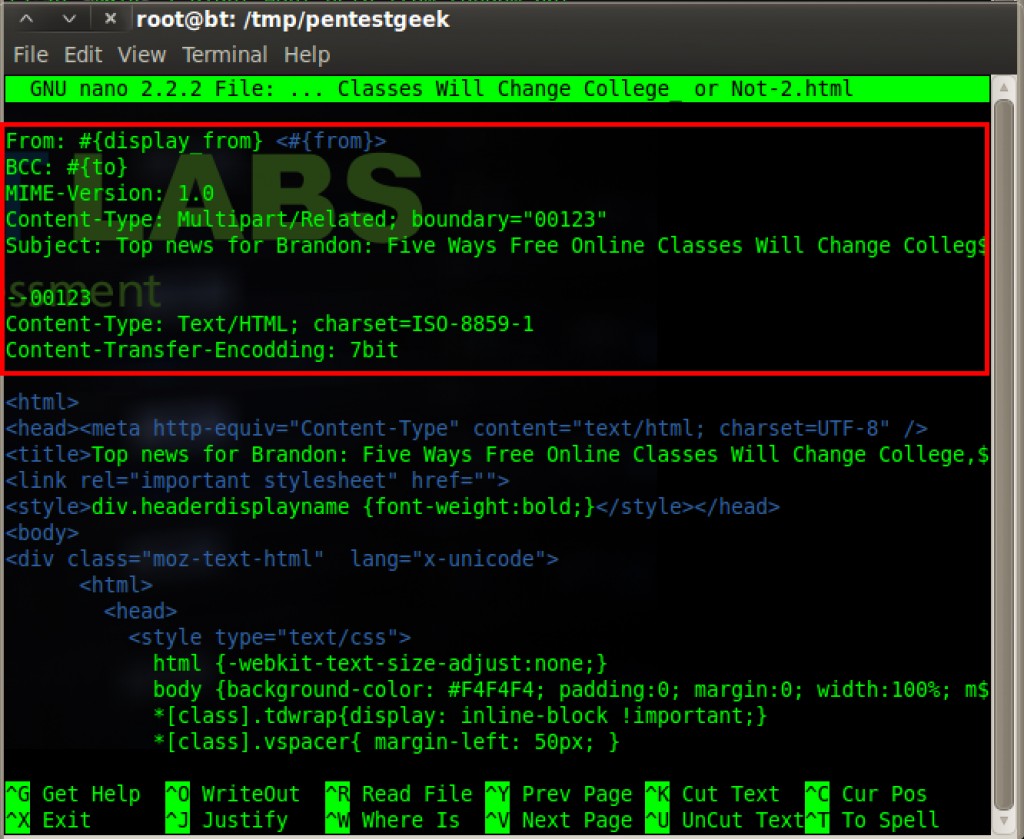
 Now that we have the HTML for our content, we now need to add our email headers to the message. After all, HTML solely isn’t enough to send an email through SMTP. The red box below shows all of the content that I have added for proper sending with sendmail.rb. The HTML portion below the red box was all generated when we saved the file from Thunderbird.
The last edit that I make is finding the line that contains “To:” and I completely remove it. This removes a table that is created at the top of the email stating who it was sent to, from and date.
 Now that we have created our phishing email, lets send it to ourselves to see how it looks.
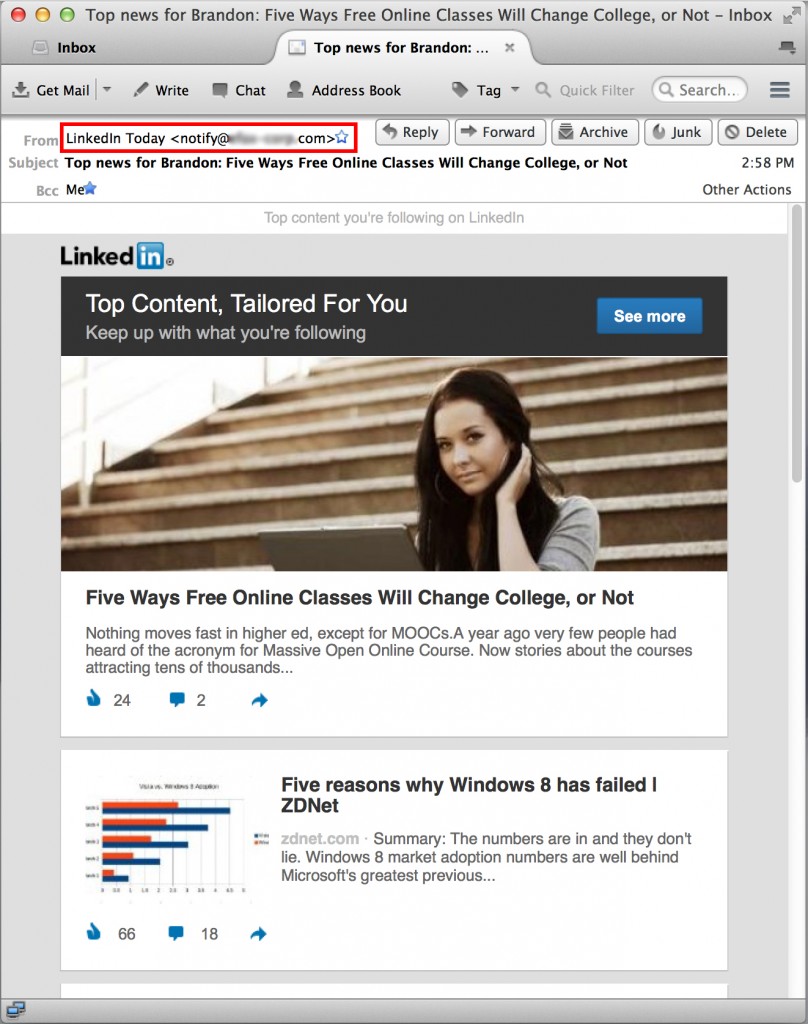 Ok, nice! The email looks pretty good, but now we need to substitute some of the real links with our phishing links. That way when the user clicks on our email, they are directed to our malicious website, instead of LinkedIn. Also notice this is not the same email as above, you can see in the email headers it is From someone else, not LinkedIn.
Adding the phishing url is quite easy since sendmail helps us with the process. Simply open up the file with a text editor, and change any of the href=linkedin.com to href=#{url}. Before sending the email, sendmail will look at the email contents and replace the real phishing url in place of any #{url} found. I’m sure we could use something sexy like sed to streamline this process as well.
Now all the hard part is finished, lets send it out to see who clicked on our link! Hope this helps, and Happy Phishing!
Share this article
Leave a Reply
Share This
Recent Posts
- Playing With the New Burp Suite REST API
- Burp Suite 2.0 Beta Review
- Attacking Palo Alto Networks PAN-OS ‘readSessionVarsFromFile()’
- GPG Errors While Updating Kali Linux
- Installing Kali NetHunter on HTC Nexus 9
Subscribe To Our Mailing List

The Ultimate Burp Suite Training Program
Learn Network Penetration Testing

Penetration Testing
Categories
- AWBS
- Burp Suite
- Definitions
- Forensics and Incident Response
- Information Gathering
- Metasploit
- Penetration Testing Tutorials
- Phishing
- Presentations
- Tools
- Web Applications
- Wireless
Metasploit
Web Application Hacking
Copyright 2024
This is excellent. The addition of a parameter in the request itself to distinguish emails is brilliant. Keep up the fantastic work guys!
-Andrew